Managing Office 365 with Azure automation
We are rolling out Office 365 at my current assignment. Within this project we want to automate as much as possible to avoid human error and reoccurring tasks. We already used a lot of PowerShell for our current SharePoint farm, so the most obvious thing was to look at PowerShell for automating those tasks. In this article I will take you with me on the journey that we took.
Why Azure Automation
We choose Azure Automation for a few reasons. We started with a few PowerShell scripts from my workstation to see what we could automate and tried to set the default usage location of the user. This is something every user needs before a license can be assigned. We wanted to run this script every 3 hours after the Active Directory synchronization. Our first thought was we can use the Windows task scheduler just like ADSync (We started a year ago with this). The problem with using a task scheduler is that we need to authenticate to Office 365 and we cannot run this script with the current credentials. An option is to just enter the username and password into the script. This is a big NO. Another option was to save the encrypted password and use that one in our script, this one I could not get to work.
With both on-premises options not able to solve my solution I looked at other options and found Azure Automation.
What is Azure Automation
Azure Automation is a solution in the Azure platform to run PowerShell scripts and PowerShell Workflows. You can find a full breakdown of Azure Automation here: https://azure.microsoft.com/en-us/documentation/services/automation/
How to get started with Azure Automation and Office 365
To get started with Azure Automation for Office 365, we need three things; PowerShell knowledge, an Azure subscription and an Office 365 subscription. You can find a full article on how to get started here.
Tooling
For the tooling we have a few options. We can get started with the Azure Automation web UI or the one I prefer PowerShell ISE with the Azure Automation add-on.
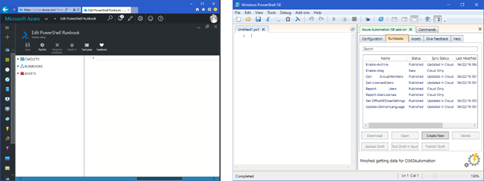
The add-on is open source and you can contribute to it on GitHub.
How to get started
To get started with automating Office 365, we first need an automation account. You can create this in the Azure Portal. You can find it when you search for ‘automation’. 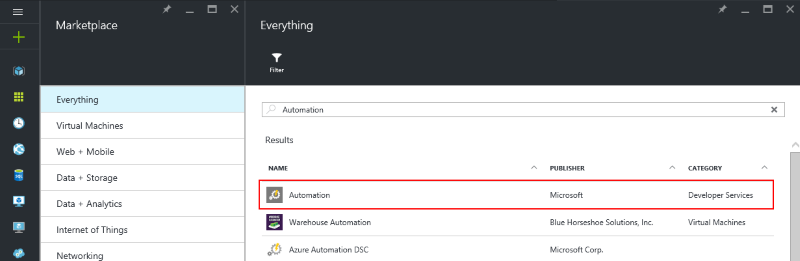
After you create an automation account you can prepare this account to be used with Office 365. For this preparation we need two things.
- Credentials
- PowerShell scripts for Office 365
For these preparations we use ‘assets’ in our automation account. Assets are divided into ‘Schedules’, ‘Modules’ ‘Variables’, ‘Connections’, ‘Credentials’ or ‘Certificates’. You can find the assets on the start blade of the automation account. 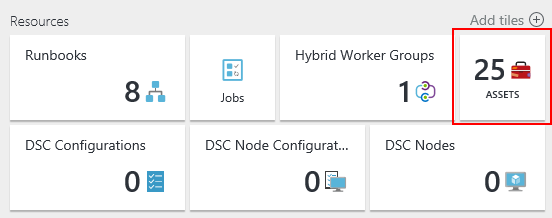
We start with the credentials. The credential assets can be used to securely save a username and password like the credential manager on our computer. We have chosen to create a dedicated automation account in Office 365 that has tenant admin rights.
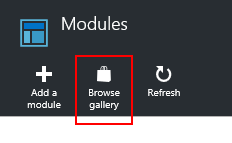
Now that we have the credentials stored we need the PowerShell scripts for Office 365; for this we need to install the module ‘MSOnline’. This module can be added directly from the modules blade or from the PowerShell Gallery.
After we created the credential asset and installed the module we can start scripting.
Connect to Office 365
We are done with the plumbing, so let’s get started with creating a new script and connect to Office 365. You can create a new script from the automation account home blade with ‘Runbooks’. 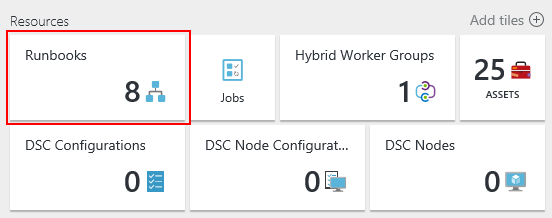
In our new runbook we just need to add these two lines of code to get connected to Office 365, just like a normal PowerShell script.
Now that we are connected we can run whatever code we need for Office 365.
A few examples of code that we use now
We mainly use automation for setting the usage location based on the domain of the user, setting the correct license based on a group membership, and we give everybody with a mailbox an archive mailbox.
Set usage location
Set user license
Enable archive mailbox
Schedule our scripts
To truly automate our scripts, we want it to run on a preset schedule. For this we can use the ‘Schedule’ asset. Here we created a few schedules.
- Setting the user license runs every 3 hours
- Enabling the archive mailbox runs daily
You can create as many schedules as you need and connect multiple schedules to multiple runbooks. In the description of each schedule we explained what the schedule is meant for.
Hybrid runbooks
Not every script will run in Azure automation. Connecting with Exchange, for instance, will not work, because the connection to Exchange uses PSSession and loads extra PowerShell commands. Azure automation cannot handle this. We have one script that needs that connection, the one that enables the archive mailbox. These kinds of scripts can run in a hybrid mode and can be found under ‘Hybrid Worker Groups’. 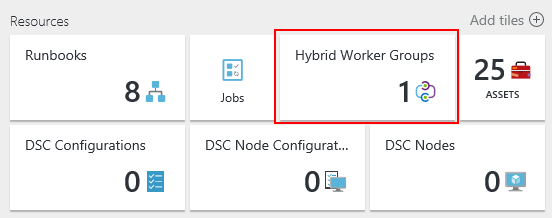
The hybrid worker uses ‘Operations management suite’. You can find an introduction to that suite here: http://aka.ms/hybridrunbookworkeroverview. In the Operations management suite (http://microsoft.com/oms) we registered one machine to run the scripts that needs a hybrid worker. After setting up the schedules we selected the hybrid option and the hybrid worker group to run the scripts.
Conclusion
With the knowledge we had from PowerShell we were able to automate the most common tasks for now as shown in the examples in this article. I can think of more scripts like monitoring licenses, spam reports and such. I expect that we will add more scripts for Office 365 to automate further.
If you have any other ideas of automating or challenges, please add a comment below.